Quickstart
With RunLLM's seamless new onboarding experience, all you have to do is provide RunLLM a link to your documentation, and it will figure out the rest:
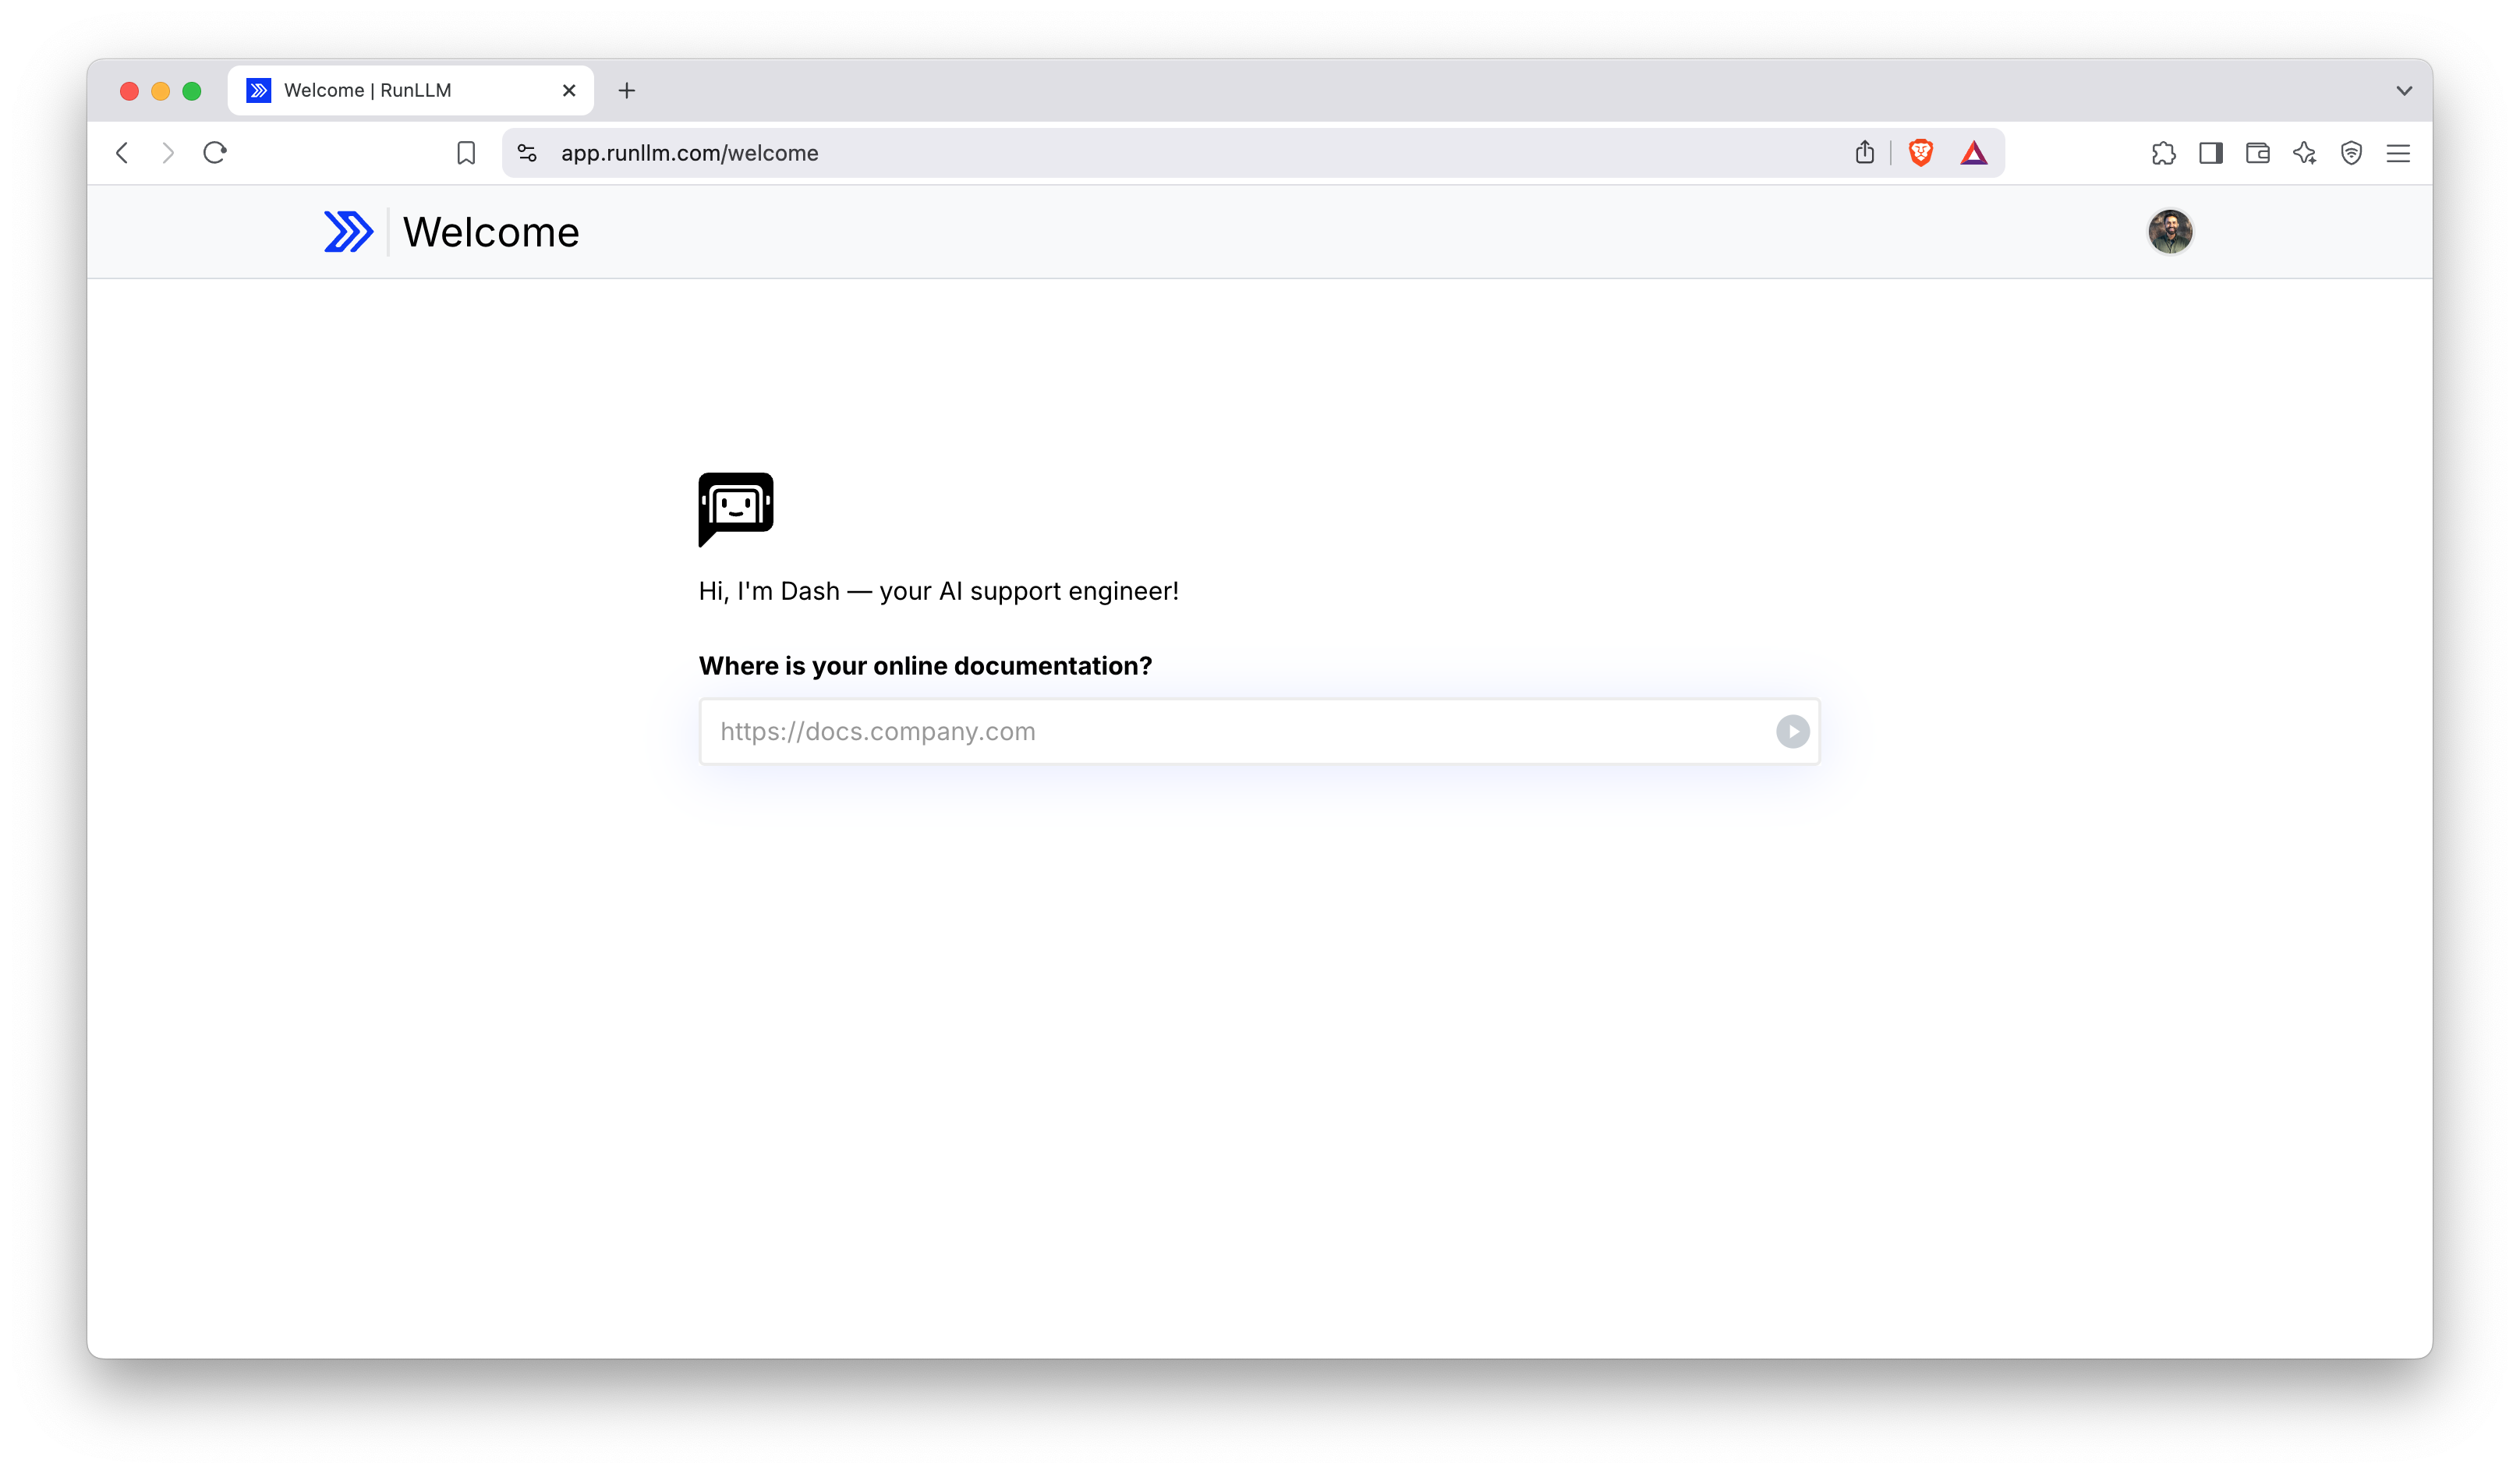
When you enter your documentation URL, RunLLM will automatically start learning about your product. It'll figure out the basics — your product name and what it does — and it'll also start constructing a new knowledge base with your documentation.
Once RunLLM's learned a bit about your product — this takes about a minute — you'll get a chat interface where you can start testing. As it learns more about your product, the topics it's learning about will pop up on the right hand side. Keep in mind that it's leraning more minute by minute, so it'll take a little bit until it knows everything.
A few things to note:
- While we recommend starting with your documentation, you can always add more data later; see our documentation for all the data connectors we support.
- As you ask more questions, RunLLM will check in with you to see if you want to add more data or deploy RunLLM.
- We're constantly iterating on features, so if there's something missing or something wrong, please reach out.
Don't worry — you can still train RunLLM on your data, but you'll have to tell us a bit more about what you're doing. Just click on "I don't have public docs" and we'll walk you through creating a new assistant.